

Should You Wear a Cardigan Over a Dress for Wedding
You may be conflicted about what to wear a wedding as a guest. If you have concerns about the temperature and how you might feel...
You may be conflicted about what to wear a wedding as a guest. If you have concerns about the temperature and how you might feel...
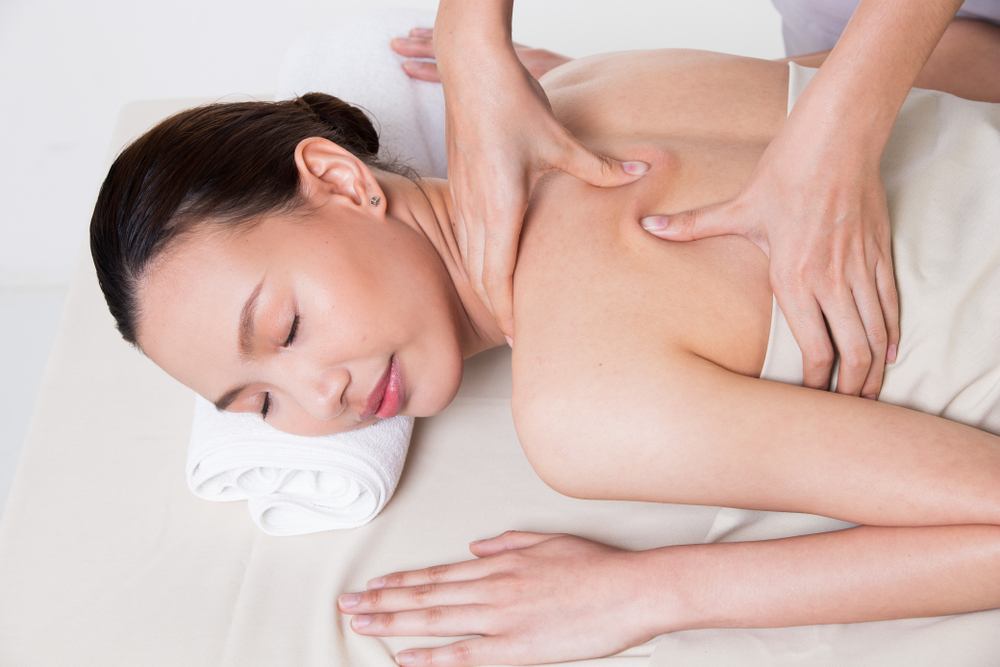
Pressure points are specific areas on the human body that, when stimulated, can elicit a variety of responses. They are often used in alternative medicine...

In recent years, acupressure mats have gained popularity as a tool to help alleviate anxiety. These mats, often covered with small spikes, are designed to...
When it comes to enhancing the appearance of eyelashes, two popular treatments are lash lifts and lash extensions. Both options offer unique benefits and cater...

Cold showers and ice baths have become popular among athletes and wellness enthusiasts alike, due to their potential benefits for recovery and overall well-being. Despite...

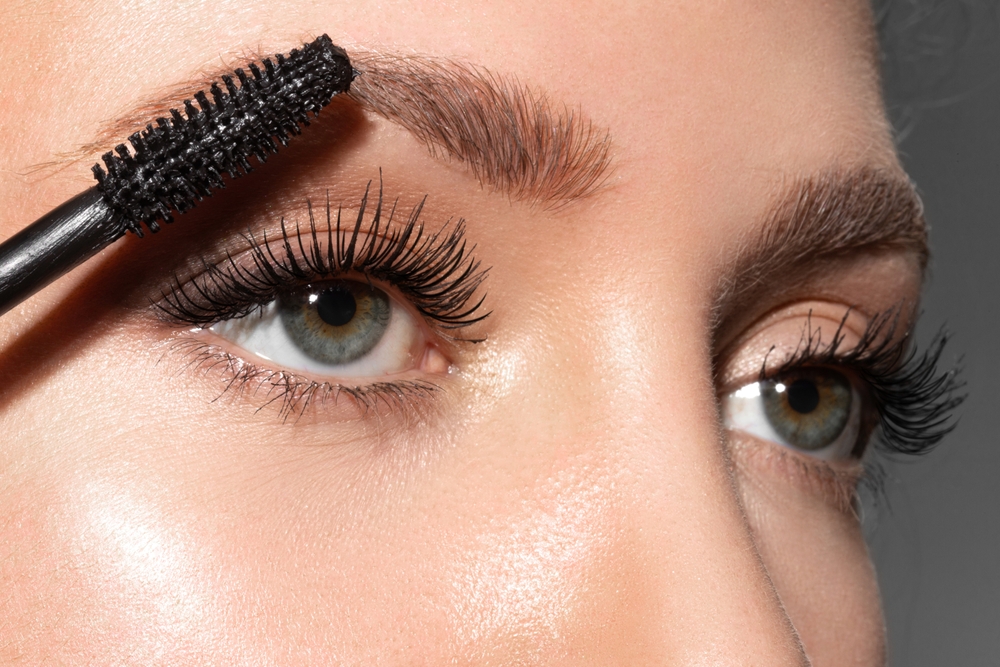
Tweezers are indispensable tools for various tasks, including grooming eyebrows, removing splinters, and handling small items. Over time, however, the tips of tweezers can become...

Pool hairstyles are not only perfect for keeping your hair out of your face while swimming, but they also add a touch of style and...
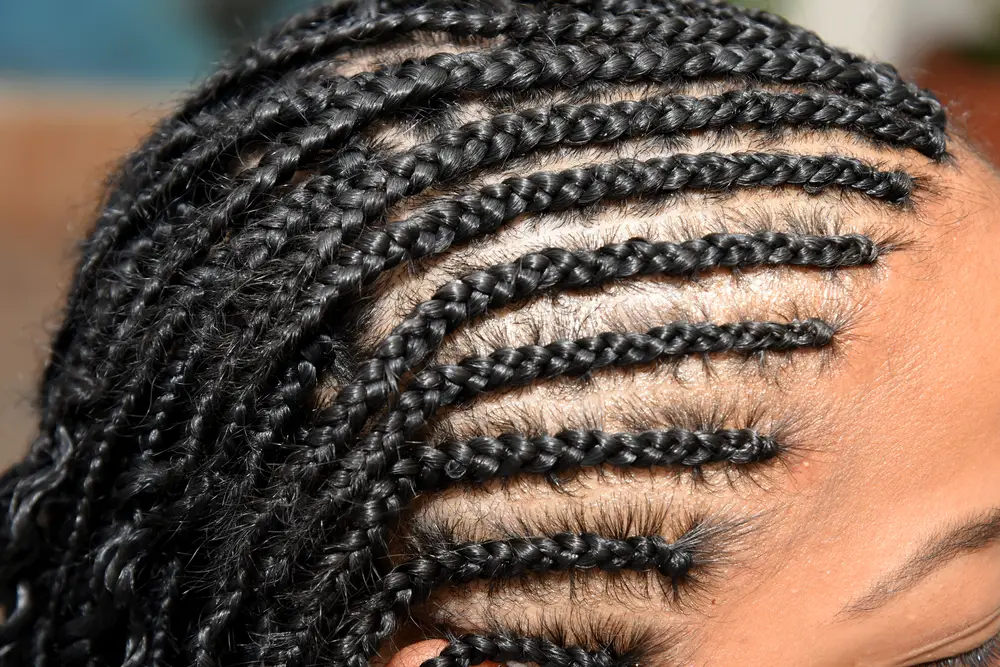
Layered braids are a versatile and stylish choice for individuals seeking a protective yet fashionable hairstyle. This unique look combines different braiding techniques with various...

Spray tans are a popular and convenient way to create a sun-kissed glow without exposing skin to harmful UV rays. While they’re designed to last...
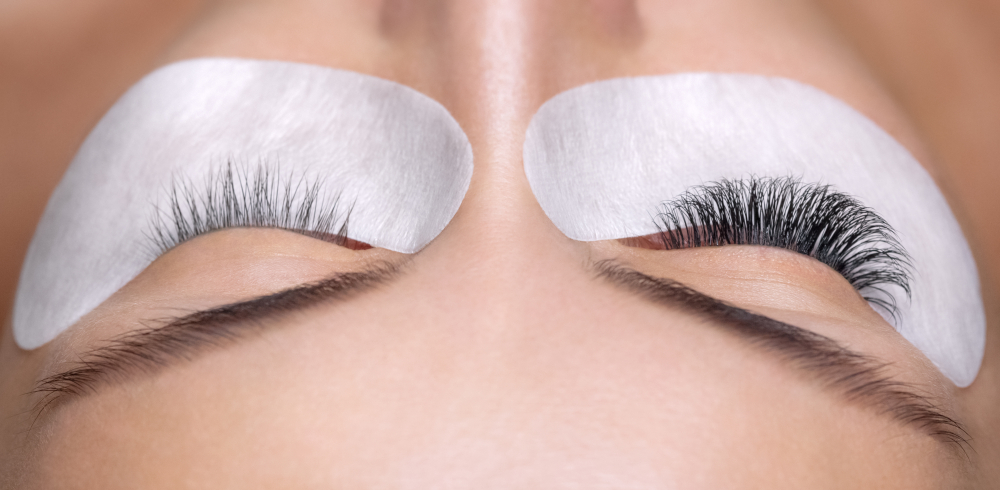
Eyelash extensions are a popular beauty enhancement that can add length, volume, and curl to natural lashes. While having lash extensions can transform one’s look...
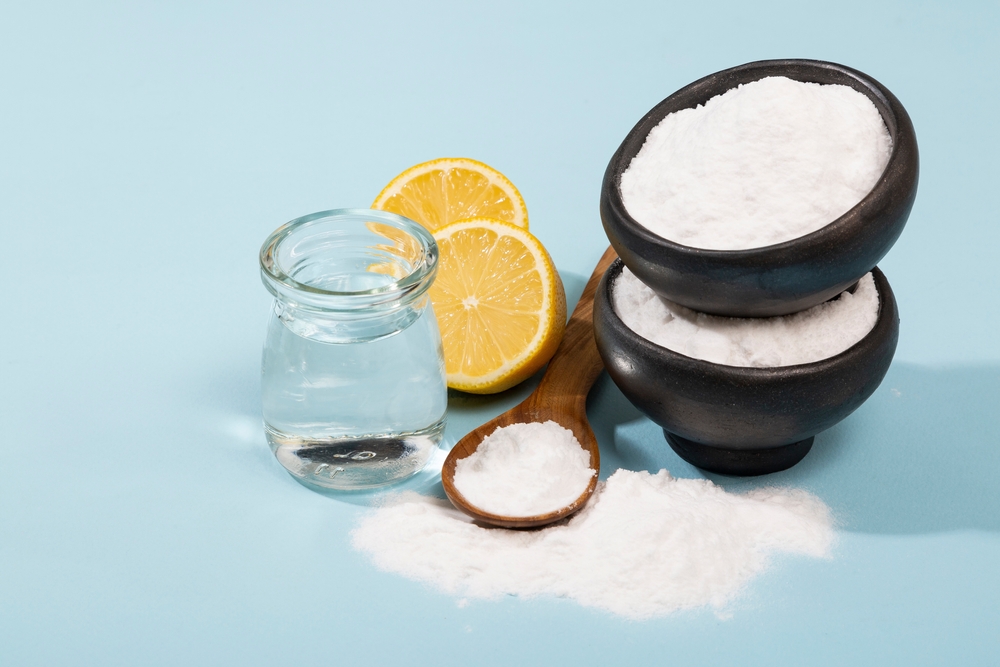
Baking soda and salt in water is a versatile and intriguing combination used for various purposes, from household cleaning to potential health benefits. This mixture...
| Cookie | Duration | Description |
|---|---|---|
| cookielawinfo-checkbox-analytics | 11 months | This cookie is set by GDPR Cookie Consent plugin. The cookie is used to store the user consent for the cookies in the category "Analytics". |
| cookielawinfo-checkbox-functional | 11 months | The cookie is set by GDPR cookie consent to record the user consent for the cookies in the category "Functional". |
| cookielawinfo-checkbox-necessary | 11 months | This cookie is set by GDPR Cookie Consent plugin. The cookies is used to store the user consent for the cookies in the category "Necessary". |
| cookielawinfo-checkbox-others | 11 months | This cookie is set by GDPR Cookie Consent plugin. The cookie is used to store the user consent for the cookies in the category "Other. |
| cookielawinfo-checkbox-performance | 11 months | This cookie is set by GDPR Cookie Consent plugin. The cookie is used to store the user consent for the cookies in the category "Performance". |
| viewed_cookie_policy | 11 months | The cookie is set by the GDPR Cookie Consent plugin and is used to store whether or not user has consented to the use of cookies. It does not store any personal data. |