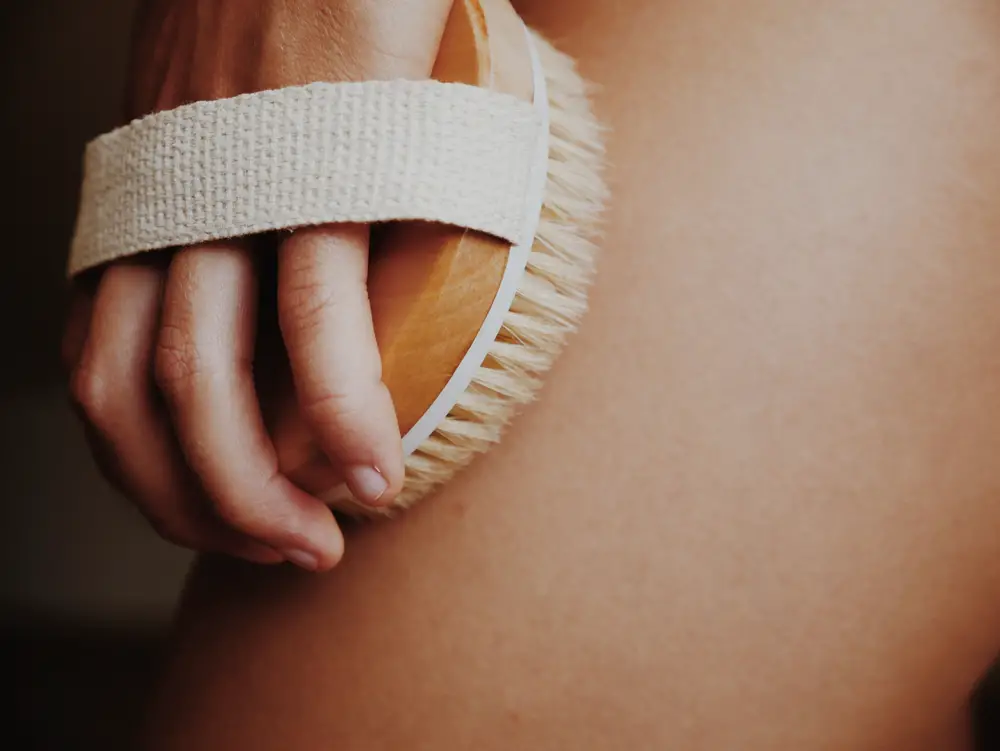
Dry brushing is a relatively new skin care technique that is used for exfoliating and cleaning the skin. It offers a few benefits for your skin, however, like making it softer, improving blood circulation, and revitalizing your nervous system.
You use the dry brush without any water, brushing across your skin in certain motions that are really good for getting rid of dead skin cells and opening up the pores. No water is needed, and yet it manages to clean your body similar to how taking a bath would.
It’s a really great way to keep your skin clean when you don’t want to get wet, and it’s part of a modern skin care routine that makes your skin look and feel its best.
We’re going to show you how to clean a dry brush and keep it clean, because a clean dry brush is way more effective than one that isn’t well taken care of.
Why Clean Your Dry Brush?
If you keep using the same brush to clean your skin, you’re going to end up with debris like skin cells, hair, and oils on the brush.
Then, the next time you try to clean your skin, you’ll be rubbing some of those same skin cells and particles across your skin. That’s going to clog your pores and spread bacteria, and it can even make you sick.
Keeping a clean dry brush allows it to be more effective and ensures that it lasts for a long time. You do need to be careful about the method you use to clean it. Some cleaning methods use harmful chemicals that are not very good for your skin and that you don’t want coming in contact with your body. They could cause irritation or allergic reactions.
Some cleaning methods are also damaging to the brush, hurting lifespan and making it less effective. So, that’s why we’re going to show you how to clean a body brush in an effective way so that it stays sanitary and useful.
How to Clean a Dry Body Brush
It’s really important that when you clean your dry body brush that you keep the wooden parts dry. They should not come into contact with water at all, because the water can seep inside and cause cracking and rotting.
The entire time you clean your dry body brush, you’ll want to keep the wooden parts as dry as possible. If they do get water on them, dry them off quickly.
- To start, take the dry brush apart. You’ll be cleaning just the top part where the bristles are.
- Prepare a bowl of water that’s not very deep. It should be deep enough to cover the bristles about halfway. When you put your brush into the bowl, the water should not reach the wooden parts of your brush.
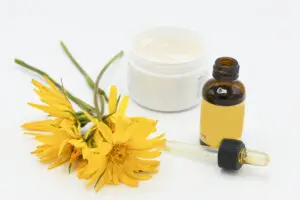
- Before you put the brush into the water, add about three drops of tea tree oil. This disinfecting agent will kill bacteria and make your brush a lot more sanitary.
- Then, place the brush into the liquid mixture with the bristles facing down.
- Swirl the brush around so that the dirt and hair get loose from the bristles. Do this for about 5 minutes and then take the brush out of your water and oil mixture.
- Place it into a bowl of plain water that’s about the same level.
- Swirl it around in there for another 5 minutes and then shake off the excess water with the bristles facing down.
- Rest that brush on a dry towel and leave it to dry or you can put it into the dryer to dry faster.
- Before placing the brush into the dryer, wrap the towel around it and fasten the towel with safety pins.
- Set the dryer to low and dry it with a load of laundry.
How to Clean a Wet/Dry Body Brush
For a faster cleaning method that will give you a lighter cleaning that you can use more frequently, you can place your brush under running water. Once again, keep the wooden part out of the water and dry it all times.
Using very hot water can help to kill some bacteria on the brush, but you can use whatever temperature you prefer.
- Place the bristle part of the brush under running water for several minutes to loosen the hair and dirt. This should wash most of the debris out of the brush.
- Once you’ve cleaned it enough under the water, you can shake the brush dry, with the bristles facing downward.
- Then, hang the brush up to dry somewhere it can receive decent airflow. If water gets on to the wooden part of the brush, be sure to dry that off as quickly as you can.
This method works really well for a wet dry body brush to preserve it and clean it as well.
How to Clean a Facial Dry Brush
A dry body brush and a dry facial brush are often the same things, but there may be a smaller one to use for your face than what you would use for your rest of your body. The good news is that you can use the same cleaning methods we’ve described above for a facial dry brush.
If the brush has a wooden handle, you want to keep that dry while you clean it. If the handle is removable, be sure to take that off before cleaning. Some dry brushes designed for the face contain wood only in some parts, but even those can be damaged by exposure to water. Be sure to keep yours dry at all times.
Also make sure that you sanitize the brush. It’s more important to sanitize a facial dry brush than it is one that’s made for the body. Your face is a much more sensitive area with openings that bacteria can get into and cause health problems. You can use a gentle disinfectant like tea tree oil or any other kind of antibacterial treatment that kills germs effectively and yet is gentle on your skin.
Keep in mind that the facial dry brush tends to be smaller than up body brush. So, you won’t need to use as much water to clean it with. I
f you’re using the soaking method that I described above, be sure you only put enough water into the bowl to cover the bristles about halfway when the brush is facing bristles-down in the water.
How Not Clean a Coconut Dry Brush
There are few things you do not want to do when you’re cleaning a coconut dry brush or other types of wooden dry brushes.
First of all, as I’ve said many times in this article already, do not expose the wooden part of the brush to water. If it does get wet, you need to make sure it’s dried off properly, dabbing at the water so that you’re not pushing it into the wood. It’s not a bad idea to run a hair dryer over the wooden part of the brush, if water gets on the wooden parts.
You also don’t want to submerge the entire brush in water. You may be tempted to do this for easy cleaning, but it’s really damaging to the brush, and you’re going to shorten its lifespan and usefulness considerably.
Also make sure that when you’re cleaning the brush that you use a dry cloth for the wooden parts. Any kind of liquid, oil, or other wet substance can damage the wood, so keep those away from it. Simply wiping the wooden part down with a dry cloth is a great way to clean it and make it safe to use.
You also make sure that the brush dries completely when you’re done cleaning it with water. The bristles will benefit from washing and rinsing, as that does a great job of removing debris from the brush. However, you want to make sure that the brush dries quickly, which is why I recommend putting it into the dryer to speed up the drying process.
If you’re not sure if a cleaning method is safe for your dry brush, then don’t use it.
Even though the manufacturers recommend that you get rid of the brush and replace it every few months, that won’t be necessary if you know how to clean the brush properly.
You shouldn’t use any harsh cleaning agents on your brush either. Remember that the brush is coming in contact with your skin, touching pores and cleaning sensitive parts of your body that could be easily irritated.
You don’t want any potent chemicals stuff to the brush, as these could create a reaction that’s not very pleasant. You may suffer from redness, itchiness, irritation, and other skin problems because of the kind of cleaning agents you’re using on the brush.
I wouldn’t use anything more powerful than tea tree oil and water, if you want to be on the safe side.

I’m Jennifer a beauty and wellness expert. I believe in promoting a sustainable and healthy lifestyle from within. Helping people feel good is my passion; whether it’s teaching yoga or offering skincare advice.